
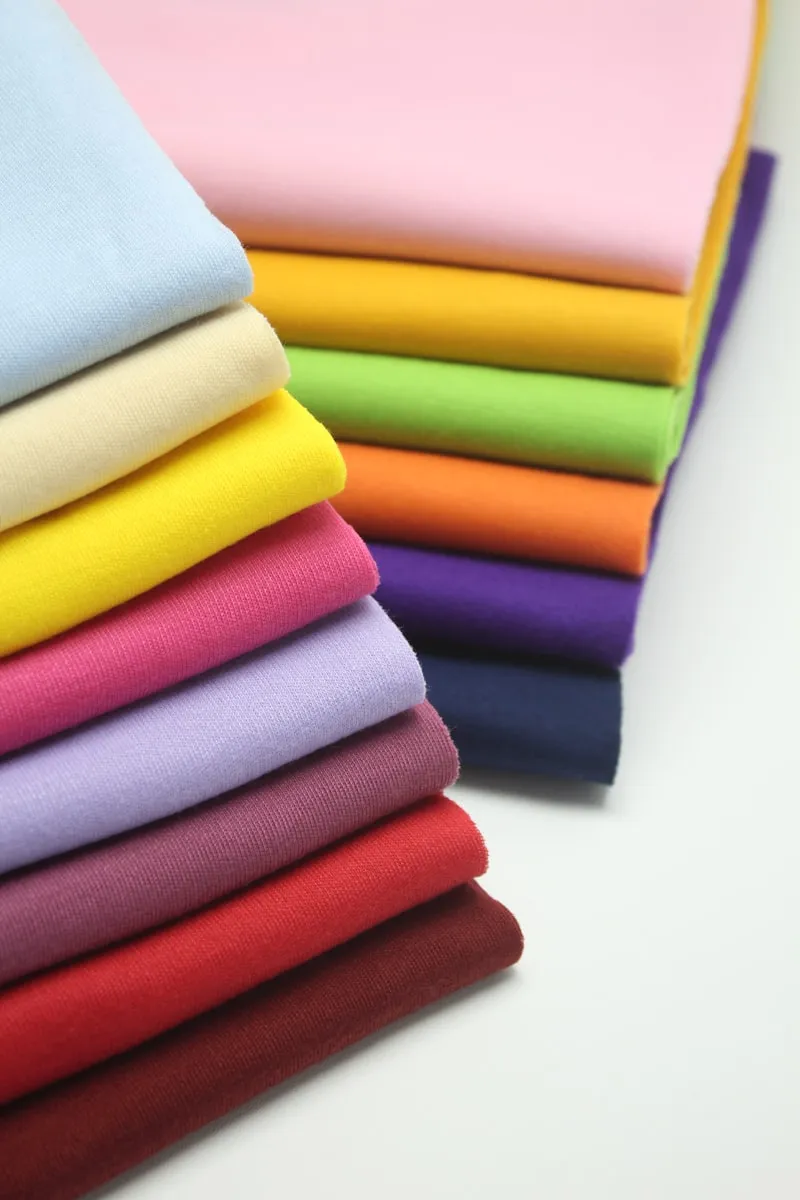
Gathering fabric is an essential sewing technique that creates beautiful ruffles, adds fullness to garments, and brings dimension to your projects. Whether you’re making a gathered skirt, adding ruffled sleeves to a blouse, or creating decorative details, knowing how to gather fabric properly will elevate your sewing skills.
In this comprehensive guide, we’ll explore three proven methods for gathering fabric, from basic hand stitching to using your sewing machine for faster, more uniform results.
What Is Fabric Gathering?
Gathering is a technique that draws fabric together along a stitch line to create controlled fullness. Unlike pleating, which creates structured folds, gathering produces soft, random ripples that add volume and texture to garments and home decor projects.
Common applications for gathered fabric include:
- Waistbands on skirts and dresses
- Sleeve caps and cuffs
- Ruffle trims and embellishments
- Bedskirts and curtain valances
- Yokes and bodices
The key to successful gathering is creating evenly distributed fullness that doesn’t look bunched or pulled.
Method 1: Gathering Fabric with a Sewing Machine (Double Basting Stitch)
This is the most popular method for gathering fabric with a sewing machine. It provides excellent control and creates even gathers across the fabric width.
What You’ll Need
- Sewing machine
- All-purpose thread (contrasting color makes removal easier)
- Pins
- Iron
Step-by-Step Instructions
1. Adjust Your Stitch Length
Set your sewing machine to the longest straight stitch length (typically 4.0-5.0mm). This creates a basting stitch that’s easy to pull and adjust.
2. Sew Two Parallel Rows
Sew two rows of basting stitches along the edge you want to gather:
- First row: 1/4 inch from the fabric edge
- Second row: 1/2 inch from the fabric edge
Keep both rows within the seam allowance so they won’t show in the finished project. Leave long thread tails (at least 4 inches) at both ends, and don’t backstitch.
3. Pull the Bobbin Threads
From one end, gently pull both bobbin threads (bottom threads) simultaneously. The fabric will begin to gather along the stitching lines. Pull from both ends if working with a long piece of fabric.
4. Distribute the Gathers Evenly
Slide the fabric along the threads to distribute the gathers evenly. Pin the gathered edge to your flat fabric piece, matching notches or marks. Adjust the gathers until they’re uniform.
5. Secure and Sew
Once satisfied with the gather distribution, sew your permanent seam between the two basting rows. Use a regular stitch length (2.5mm) and sew slowly over the gathers to avoid puckering.
6. Remove Basting Stitches
After completing the permanent seam, carefully remove the visible basting stitches by pulling the thread tails.
Pro Tips for Machine Gathering
- Use a contrasting thread color for basting stitches to make removal easier
- Don’t sew over pins, as this can damage your needle
- If threads break while pulling, you may need to divide the fabric into smaller sections
- Press gathers lightly from the wrong side to set them without flattening
Method 2: Hand Gathering Stitch
Hand gathering gives you maximum control and is ideal for delicate fabrics, small areas, or when you don’t have access to a sewing machine.
What You’ll Need
- Hand sewing needle
- Thread
- Pins
- Thimble (optional but helpful)
Step-by-Step Instructions
1. Thread Your Needle
Cut a length of thread about 18-24 inches long (shorter lengths prevent tangling). Thread your needle and knot one end securely.
2. Create Running Stitches
Working from right to left (or left to right if left-handed), create small, evenly spaced running stitches along the gathering line. Keep your stitches about 1/4 inch long and 1/4 inch apart for best results.
For more control, sew two parallel rows of running stitches, similar to the machine method.
3. Pull to Gather
Once you’ve stitched the entire length, gently pull the thread to gather the fabric. Hold the fabric at the knot end to prevent it from pulling through.
4. Adjust and Secure
Distribute the gathers evenly along the thread, then wrap the thread tail around a pin in a figure-eight pattern to temporarily secure it. Pin the gathered edge to your flat fabric piece.
5. Permanently Stitch
Sew the gathered section to the flat piece using your preferred method (machine or hand sewing). Once secure, remove the gathering stitches if desired.
When to Choose Hand Gathering
- Working with delicate or sheer fabrics
- Gathering small areas like sleeve caps
- Creating heirloom or vintage-style garments
- No sewing machine available
- Maximum precision needed
Method 3: Zigzag Over Cord Method
This technique is perfect for heavy fabrics or very long gathering lengths. It creates strong, easy-to-pull gathers that won’t break.
What You’ll Need
- Sewing machine with zigzag stitch capability
- Strong, thin cord (like crochet cotton, dental floss, or pearl cotton)
- All-purpose thread
Step-by-Step Instructions
1. Position the Cord
Place a length of cord along the gathering line on the right side of your fabric. The cord should extend at least 4 inches beyond the fabric on each end.
2. Set Your Machine to Zigzag
Select a medium-width zigzag stitch (3.0-4.0mm wide) and medium length. The zigzag should be wide enough to clear the cord without stitching through it.
3. Zigzag Over the Cord
Carefully stitch over the cord using the zigzag stitch. The needle should pass on either side of the cord without piercing it. Keep the cord taut as you sew.
4. Pull the Cord to Gather
Once complete, pull the cord from one or both ends to gather the fabric. The zigzag stitches will slide along the cord, creating even gathers.
5. Secure and Finish
Pin the gathered edge in place, distribute the fullness evenly, then sew your permanent seam. You can leave the cord in place or carefully remove it after sewing.
Advantages of the Zigzag Method
- Excellent for heavy fabrics like denim or canvas
- Won’t break when pulling long lengths
- Creates very even gathers
- Faster gathering once cord is in place
Calculating How Much Fabric to Gather
A common question when gathering fabric is determining how much fullness you need. Here’s a simple guide:
- Light gathers: Use 1.5 times the finished length (example: 30 inches of fabric gathers to 20 inches)
- Medium gathers: Use 2 times the finished length (example: 40 inches gathers to 20 inches)
- Full, ruffly gathers: Use 2.5-3 times the finished length (example: 60 inches gathers to 20 inches)
Always add seam allowances to both the gathered and flat pieces before cutting.
Tips for Perfect Gathers Every Time
Match Your Thread to the Technique
For machine basting, use all-purpose thread. For hand gathering, consider using buttonhole thread or quilting thread for extra strength.
Work in Sections
If gathering a very long piece (like a bedskirt), divide it into quarters or eighths. Gather each section separately for easier handling and more even distribution.
Mark Key Points
Use fabric chalk or pins to mark quarter or half points on both the gathered and flat pieces. Match these marks when pinning to ensure even fullness distribution.
Test First
Practice on fabric scraps before gathering your project fabric, especially if using a new technique or working with an unfamiliar fabric type.
Adjust Machine Tension
If your gathers aren’t pulling easily, try slightly loosening your upper thread tension. This makes the bobbin thread easier to pull.
Steam Carefully
When pressing gathered fabric, use steam sparingly and press from the wrong side. Too much pressing can flatten your gathers.
Troubleshooting Common Gathering Problems
Gathers Look Uneven or Bunched
- Pull threads more gradually and slowly
- Distribute fullness more carefully before sewing
- Use more pins to hold gathers in place
- Check that you’re pulling both bobbin threads together
Threads Keep Breaking
- Reduce the amount of fabric you’re gathering at once
- Use stronger thread or the zigzag-over-cord method
- Check that your machine is threaded correctly
- Avoid pulling too hard or too quickly
Gathers Won’t Stay in Place
- Make sure you’re sewing between the two basting rows
- Use a shorter stitch length for the permanent seam
- Pin more frequently before sewing
- Consider basting the gathered section to the flat piece first
Fabric Edge Curls When Gathering
- This is normal for bias-cut or knit fabrics
- Use steam to relax the fabric before gathering
- Consider stay-stitching the edge before gathering
- Choose a different gathering method for that fabric type
Choosing the Right Gathering Method for Your Project
Use Machine Gathering (Method 1) when:
- Working with medium-weight wovens
- Gathering moderate to long lengths
- Speed is important
- You want consistent, even gathers
Use Hand Gathering (Method 2) when:
- Working with delicate fabrics
- Gathering small areas or curves
- You want maximum control
- Creating heirloom or detailed work
Use Zigzag Over Cord (Method 3) when:
- Working with heavy or stiff fabrics
- Gathering very long lengths
- Previous methods resulted in broken threads
- You need extra-strong gathering stitches
Beyond Basic Gathering: Advanced Techniques
Once you’ve mastered these three fundamental gathering techniques, you can explore variations like:
- Shirring: Multiple rows of gathering stitches creating an elastic effect
- Smocking: Decorative gathering with embroidery
- Gathering over elastic: For stretchy waistbands
- Lettuce edge gathering: For knit fabrics creating a wavy edge
Each technique builds on the basic gathering skills you’ve learned here.
Final Thoughts
Learning how to gather fabric opens up countless creative possibilities in your sewing projects. Whether you choose machine gathering for efficiency, hand gathering for precision, or the zigzag method for heavy fabrics, each technique has its place in a well-rounded sewing skill set.
Start with simple projects like gathered pillowcases or basic skirts to practice these methods. As you gain confidence, you’ll find yourself reaching for gathering techniques to add professional-looking details to everything you make.
Remember, the key to beautiful gathers is patience and practice. Take your time distributing the fullness evenly, and don’t be afraid to adjust and re-pin until the gathers look just right.