
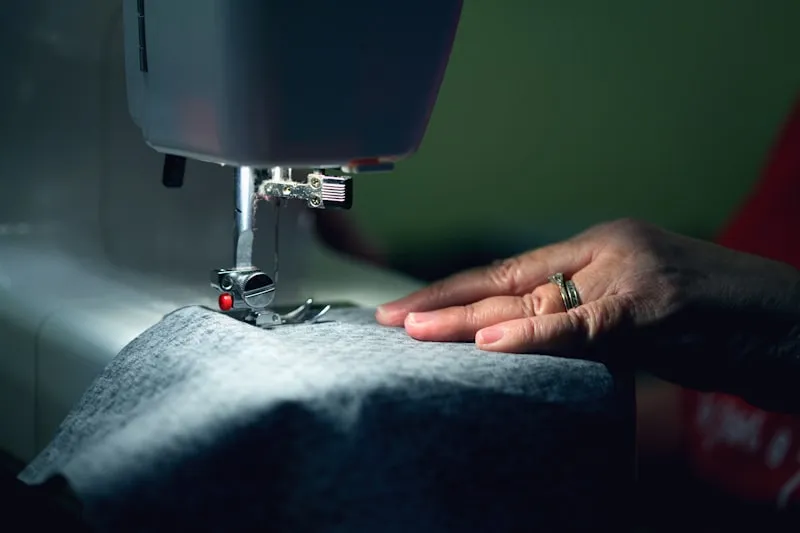
A French seam is one of the most elegant seam finishes in sewing, creating a clean, professional look both inside and out. This enclosed seam technique hides all raw fabric edges within the seam itself, making it perfect for delicate fabrics, sheer materials, and garments where the inside might be visible. Whether you’re sewing a silk blouse or a lightweight cotton dress, learning how to sew a french seam will elevate your sewing projects to a professional level.
What Is a French Seam?
A French seam is a self-enclosed seam that completely encases the raw edges of fabric. Unlike a standard seam that exposes raw edges on the inside of a garment, a French seam involves sewing the fabric together twice: first with wrong sides together, then with right sides together. This double-stitching process creates a narrow, enclosed seam that prevents fraying and provides a polished finish.
When to Use French Seams
French seams work best in specific situations:
- Sheer and lightweight fabrics like chiffon, organza, voile, and silk where seam allowances would be visible through the fabric
- Delicate fabrics that fray easily, such as linen and fine cottons
- Baby clothes and children’s garments where soft, non-irritating seams are important
- Unlined garments where the inside of the garment will be visible
- Straight seams on garments, as French seams can be challenging on tight curves
French seams are not ideal for thick fabrics, as the double layer of fabric can create excessive bulk, or for curved seams where the enclosed allowance may pucker.
How to Sew a French Seam: Step-by-Step Tutorial
Follow this french seam tutorial to achieve perfect results every time.
Materials You’ll Need
- Fabric pieces to be seamed
- Sewing machine or needle and thread for hand sewing
- Iron and ironing board
- Pins or fabric clips
- Fabric scissors or rotary cutter
- Ruler or seam gauge
Step 1: Prepare Your Fabric
Start by placing your fabric pieces wrong sides together. This is the opposite of how you’d normally begin a seam, and it’s the key to creating the enclosed finish.
Pin or clip the fabric layers together along the seam line, ensuring the edges are perfectly aligned. Accuracy at this stage is crucial for a neat final result.
Step 2: Sew the First Seam
Sew a narrow seam approximately 1/4 inch (6mm) from the raw edge. Use a standard straight stitch with a stitch length of about 2.5mm.
Keep your stitching line consistent and parallel to the fabric edge. This first seam will be enclosed within the final French seam, so precision matters.
Step 3: Trim the Seam Allowance
After completing the first seam, trim the seam allowance to about 1/8 inch (3mm). Be careful not to cut too close to the stitching line.
This trimming step is important because it reduces bulk and ensures the raw edges will be fully enclosed in the next step.
Step 4: Press the Seam
Press the seam to one side using an iron. This flattens the stitching and makes it easier to fold the fabric for the second seam.
Make sure to use the appropriate heat setting for your fabric type to avoid scorching or damaging delicate materials.
Step 5: Fold and Align
Now fold the fabric so the right sides are together, with the seam allowance tucked inside. The seam you just sewed should be right at the fold edge.
Press this fold firmly with an iron to create a crisp edge. Pin or clip the layers together, ensuring the folded edge is straight and the fabric layers are aligned.
Step 6: Sew the Second Seam
Sew a second seam approximately 1/4 inch (6mm) from the folded edge. This seam should enclose the raw edges and the first seam completely within the allowance.
As you sew, make sure you’re catching both layers of fabric and that the enclosed raw edges don’t peek out. You should feel a slight ridge under your presser foot from the first seam.
Step 7: Press the Finished Seam
Press the completed French seam to one side, typically toward the back of the garment. The finished seam should measure about 3/8 inch (10mm) total width, though this can vary depending on your seam allowance preferences.
From the right side of the fabric, you should see a single, clean seam line. From the wrong side, you’ll see a neat, enclosed seam with no raw edges visible.
Tips for Perfect French Seams
Choose the Right Seam Allowance
While the standard French seam uses 1/4 inch for each seam (totaling 1/2 inch), you can adjust these measurements based on your fabric and project:
- For very fine fabrics, use a narrower first seam (1/8 inch) and second seam (3/16 inch)
- For slightly heavier lightweight fabrics, you can use 3/8 inch for the first seam and 1/4 inch for the second
- Always ensure your pattern has adequate seam allowance (at least 5/8 inch) to accommodate the French seam
Pressing Is Essential
Proper pressing at each stage makes a significant difference in the quality of your French seam. Press after the first seam, press when folding for the second seam, and press the final result. This attention to detail creates crisp, professional-looking seams.
Test on Scraps First
Before sewing French seams on your actual project, practice on fabric scraps. This allows you to:
- Determine the ideal seam allowances for your fabric weight
- Adjust your stitch length if needed
- Perfect your technique without risking your garment pieces
Use the Right Needle and Thread
Select appropriate needles and thread for your fabric type. Fine fabrics require fine needles (size 60/8 or 70/10) and lightweight thread to prevent damage and puckering. Using the correct needle size prevents skipped stitches and fabric damage.
Common French Seam Mistakes and How to Avoid Them
Raw Edges Showing
If raw edges peek out from the finished French seam, your second seam wasn’t wide enough to enclose the first seam. To prevent this, ensure your second seam is at least 1/8 inch wider than your first seam, and trim the first seam allowance adequately.
Excessive Bulk
Too much fabric bulk in the seam can happen if you don’t trim the first seam allowance or if you’re using fabric that’s too heavy for this technique. Choose French seams only for lightweight to medium-weight fabrics, and always trim after the first seam.
Puckering Along the Seam
Puckering can result from pulling the fabric as you sew, using the wrong needle or thread, or skipping the pressing steps. Sew at a moderate speed, let the feed dogs move the fabric naturally, and press thoroughly at each stage.
Uneven Seam Width
An inconsistent seam width happens when you don’t maintain a steady distance from the fabric edge while sewing. Use the markings on your sewing machine’s throat plate as a guide, or place a piece of tape at the appropriate distance to help keep your stitching line straight.
French Seam Variations
Faux French Seam
For curved seams where a true French seam is difficult, you can create a faux French seam by sewing a regular seam with right sides together, then encasing the raw edges together with a narrow hem or bias binding.
Mock French Seam
Also called a false French seam, this technique involves sewing a standard seam, then folding each seam allowance edge toward the stitching line and edgestitching to enclose the raw edges. While not as neat as a true French seam, it works on curves and thick fabrics.
Projects Perfect for French Seams
Once you master how to sew french seam finishes, you’ll find numerous applications:
- Blouses and shirts in lightweight cotton, silk, or rayon
- Summer dresses in voile, lawn, or gauze
- Children’s clothing for soft, comfortable seams
- Lingerie and sleepwear for a delicate finish
- Curtains and sheers where both sides may be visible
- Pillow covers in fine fabrics
- Scarves and wraps that need neat edges
Alternative Seam Finishes
While French seams offer excellent neat seam finishes, other options exist depending on your fabric and project:
- Flat-felled seams for sturdy, visible seams on jeans and workwear
- Zigzag or overlock stitching for knit fabrics or when speed is important
- Hong Kong seam finish for an elegant bias-bound edge on luxury garments
- Pinked seams for fabrics that don’t fray easily
- Serged seams for a professional, quick finish on woven or knit fabrics
Each seam finish has its place in sewing. Choose French seams when you want the most refined, enclosed finish for lightweight fabrics.
Troubleshooting Your French Seams
Seam Is Too Bulky
If your French seam creates too much bulk, you may be using fabric that’s too heavy for this technique. Consider switching to a flat-felled seam or Hong Kong finish instead. Alternatively, you might not have trimmed the first seam allowance enough.
Can’t See the Stitching Line on Sheer Fabric
When working with very sheer fabrics, it can be difficult to see where you’re sewing. Use a fine-point fabric marker to mark your stitching line lightly, or place a strip of contrasting paper under the fabric as a guide that you can tear away afterward.
Seam Looks Twisted
If your French seam appears twisted or puckered, you may not have pressed adequately before sewing the second seam, or the fabric layers may have shifted. Take your time with each pressing step and use plenty of pins to secure the layers.
Finishing Thoughts on French Seams
Learning how to sew a french seam is an essential skill for anyone who wants to create professional-quality garments, especially when working with delicate or sheer fabrics. While this technique requires a bit more time than a simple seam, the beautiful, neat finish is worth the extra effort.
Practice this french seam tutorial on scraps until you feel confident, then incorporate French seams into your projects wherever appropriate. You’ll quickly develop the muscle memory for the two-step process, and achieving perfect neat seam finishes will become second nature.
With patience and attention to detail, you can create garments with interior finishes that look as good as the exterior, proving your commitment to quality sewing craftsmanship.