
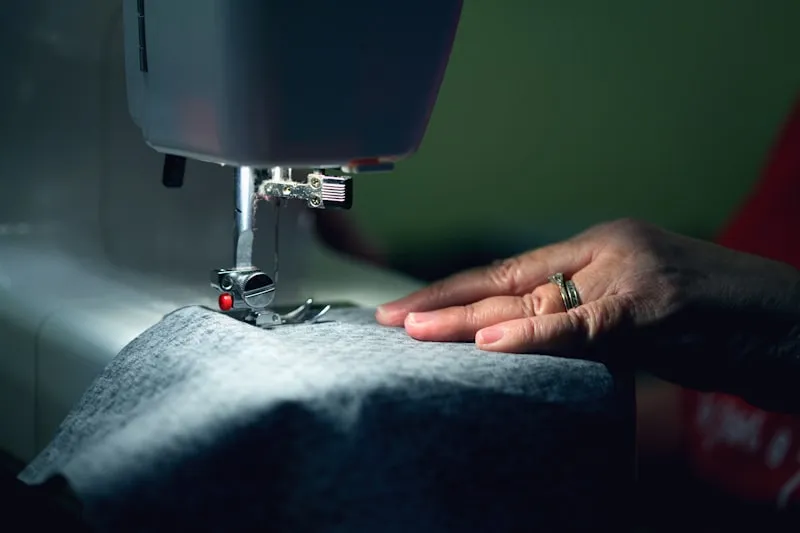
A blind hem is the secret to professional-looking garments. This nearly invisible hemming technique creates a clean finish that’s barely noticeable from the right side of the fabric, making it perfect for dress pants, skirts, curtains, and formal wear. Whether you’re using a sewing machine or stitching by hand, mastering the blind hem stitch will elevate your sewing projects.
What Is a Blind Hem?
A blind hem is a hemming technique that hides most of the stitching on the fabric’s right side, creating an almost invisible finish. The stitch catches only a few threads of the fabric’s outer layer, making it nearly undetectable. This technique works best on medium to heavyweight fabrics like wool, linen, and cotton blends.
The blind hem differs from a standard hem because it doesn’t create a visible stitch line on the garment’s exterior. Instead, tiny, barely-visible stitches secure the hem while maintaining a professional appearance.
How to Sew a Blind Hem by Machine
Most modern sewing machines include a blind hem stitch setting and using a blind hem presser foot makes the process even easier.
What You’ll Need
- Sewing machine with blind hem stitch capability
- Blind hem presser foot (also called a blind hem foot or edge-stitch foot)
- Thread matching your fabric
- Pins or fabric clips
- Iron and ironing board
- Fabric marking tool
Step-by-Step Machine Blind Hem Tutorial
Step 1: Prepare Your Hem
Press your hem allowance upward. For most garments, fold the raw edge under 1/4 inch, press, then fold the full hem allowance (typically 1 to 2 inches) and press again. Pin in place.
Step 2: Fold the Fabric
This is the trickiest part of the blind hem stitch. With the wrong side of the fabric facing up, fold the garment back against itself, leaving about 1/4 inch of the hem edge extending beyond the fold. The bulk of the garment should be folded to the left, with just the hem edge visible on the right.
Step 3: Attach the Blind Hem Presser Foot
Install your blind hem foot according to your machine’s instructions. This specialized foot has a guide that helps keep your stitching aligned.
Step 4: Select the Blind Hem Stitch
Set your machine to the blind hem stitch setting. This stitch typically creates several straight stitches followed by one wide zigzag stitch. Adjust the stitch width and length according to your fabric weight—use narrower settings for lightweight fabrics and wider settings for heavier materials.
Step 5: Position and Sew
Place the folded fabric under the presser foot so the fold aligns with the guide on the blind hem foot. The straight stitches should catch only the hem edge, while the zigzag stitch should barely catch the fold (and thus the garment fabric).
Sew slowly, watching to ensure the zigzag stitch just kisses the fold. If it’s catching too much fabric, your hem will be visible. If it’s not catching at all, the hem won’t be secure.
Step 6: Unfold and Press
Remove the pins, unfold your fabric, and press the hem. The zigzag stitches should appear as tiny dots on the right side of the fabric.
Blind Hem Stitch Troubleshooting
Problem: Stitches show too much on the right side
- Solution: Reduce your stitch width or adjust the fabric position so the zigzag catches fewer threads
Problem: Hem is pulling or puckering
- Solution: Reduce thread tension or use a slightly longer stitch length
Problem: Hem isn’t secure
- Solution: Increase stitch width slightly or ensure the zigzag is catching the fold properly
How to Sew a Blind Hem by Hand
Hand-sewn blind hems offer the most invisible finish and give you complete control over every stitch. This method is ideal for delicate fabrics, vintage garments, or when you want the most professional result possible.
What You’ll Need
- Hand sewing needle (size 10 or 11 sharps work well)
- Thread matching your fabric
- Thimble (optional but helpful)
- Pins or fabric clips
- Iron and ironing board
Hand-Sewn Blind Hem Tutorial
Step 1: Prepare the Hem
Press your hem allowance the same way as for machine sewing—fold the raw edge under 1/4 inch, then fold the full hem allowance and press. Pin in place.
Step 2: Thread Your Needle
Cut about 18-24 inches of thread and thread your needle. Knot the end or make a few small stitches at the starting point to secure the thread.
Step 3: Begin Stitching
Working from right to left (left to right if you’re left-handed), start inside the fold of the hem. Bring the needle out through the folded edge.
Step 4: Catch the Garment Fabric
With the needle pointing left, catch just 1-2 threads of the garment fabric directly above where the needle emerged from the fold. Don’t pull the needle through yet.
Step 5: Return to the Hem
Insert the needle back into the hem fold about 1/4 to 1/2 inch to the left of where you started. Pull the thread through gently—don’t pull too tight or the fabric will pucker.
Step 6: Repeat
Continue this pattern: catch a few threads of the garment, then insert the needle back into the hem fold 1/4 to 1/2 inch away. Keep your stitches evenly spaced and your tension consistent.
Step 7: Finish
When you reach the end, secure your thread with several small stitches hidden inside the fold, or knot the thread close to the fabric.
Tips for Hand-Sewing Blind Hems
- Use a single strand of thread rather than doubled thread for less bulk
- Match your thread color exactly to your fabric for the most invisible finish
- Work in good lighting so you can see how many threads you’re catching
- Press your hem thoroughly before starting—crisp folds make stitching easier
- Keep your stitches loose enough that the fabric doesn’t pucker when you unfold it
Choosing Between Hand and Machine Blind Hems
Choose machine blind hemming when:
- You’re hemming long lengths (like curtains or maxi skirts)
- Working with medium to heavyweight fabrics
- Speed is a priority
- The garment is casual or won’t be closely inspected
Choose hand blind hemming when:
- Working with delicate, lightweight, or slippery fabrics
- Creating formal wear or garments for special occasions
- You want the absolute most invisible finish
- The hem is curved or has intricate details
- You’re repairing or altering vintage or heirloom garments
Best Fabrics for Blind Hemming
Blind hems work beautifully on:
- Wool and wool blends
- Linen and linen blends
- Medium-weight cotton
- Gabardine
- Silk dupioni
- Heavier synthetic fabrics
Blind hems are challenging on:
- Very lightweight fabrics (the stitches may show)
- Knits (they may stretch)
- Thick fabrics like denim (too bulky)
- Sheers and transparent fabrics (stitches will be visible)
For lightweight or stretchy fabrics, consider alternative hem techniques like a rolled hem or stretch stitch hem.
Common Blind Hem Mistakes and How to Avoid Them
Skipping the Press
Always press your hem before stitching. Crisp, well-pressed folds are essential for accurate blind hemming. Without proper pressing, your stitches will be uneven and your hem may shift as you sew.
Catching Too Much Fabric
The most common mistake is catching too many threads on the zigzag stitch (machine) or the pick-up stitch (hand). Practice on scrap fabric until you can consistently catch just 1-2 threads.
Inconsistent Tension
Whether sewing by hand or machine, maintain consistent thread tension. Too tight creates puckering; too loose creates a sloppy hem that may come undone.
Wrong Thread Choice
Always use thread that matches your fabric color exactly. Even perfectly executed blind hem stitches will be visible if your thread contrasts with the fabric.
Practicing Your Blind Hem Stitch
Before tackling an important project, practice your blind hem technique on scrap fabric:
- Use fabric similar to your project fabric
- Practice both the folding technique and the stitching
- Experiment with stitch width and length settings (machine) or stitch spacing (hand)
- Unfold your practice hems to evaluate how visible the stitches are
- Make adjustments until you achieve an invisible finish
Advanced Blind Hem Techniques
Blind Hemming Curved Edges
For curved hems like circle skirts, you may need to ease the hem slightly. Work in small sections, pressing and pinning as you go. Hand sewing gives you more control on curves than machine stitching.
Blind Hemming Heavy Fabrics
On heavy coating or upholstery fabrics, reduce bulk by trimming the hem allowance to a single fold rather than a double fold. Use a wider, looser stitch to accommodate the fabric thickness.
Blind Hemming Multiple Layers
When hemming lined garments, catch both the lining and the outer fabric together in your blind hem stitch, ensuring the layers don’t separate over time.