
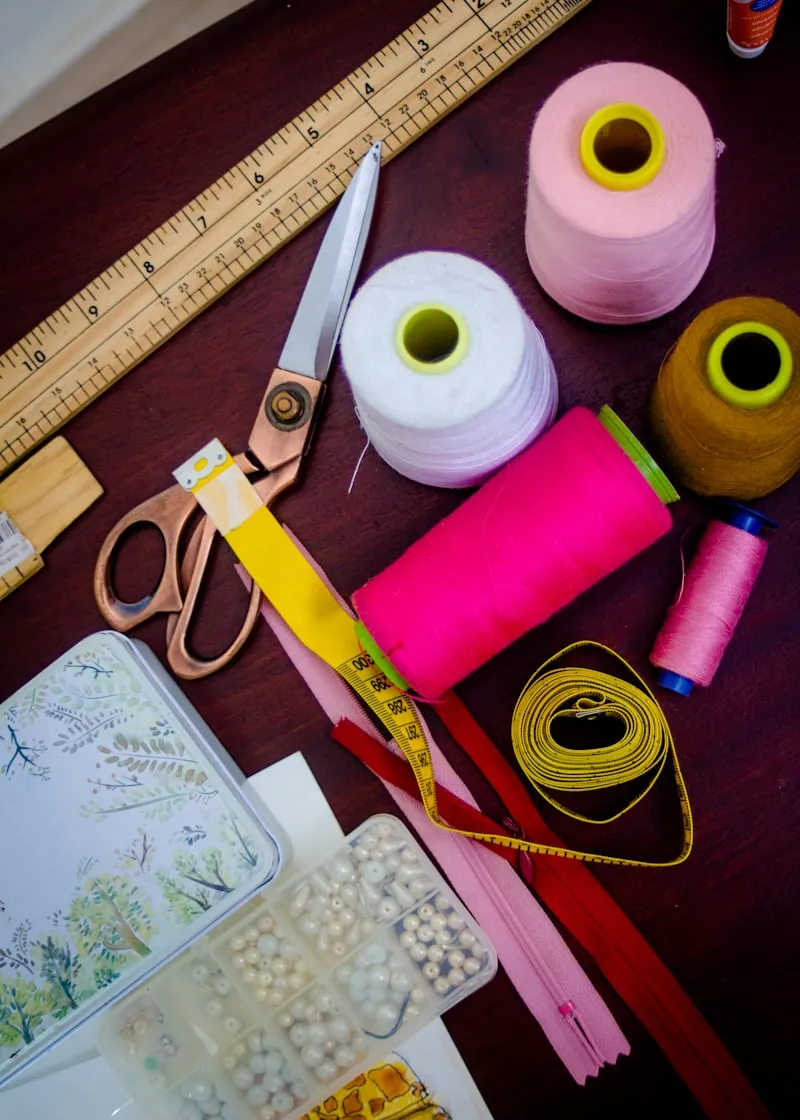
Zippers can be intimidating for beginners, but mastering how to sew a zipper opens up a world of sewing possibilities. Whether you’re creating garments, bags, or home decor projects, knowing the three main zipper insertion methods—centered, lapped, and invisible—will elevate your sewing skills and give your projects a polished, professional finish.
Understanding Zipper Types and Applications
Before diving into installation techniques, it’s important to understand which zipper type works best for your project:
- Centered zippers feature teeth visible on both sides and are ideal for the center back of dresses, skirts, and cushion covers
- Lapped zippers have one side of fabric overlapping the teeth, creating a clean finish perfect for pants, skirts, and tailored garments
- Invisible zippers hide completely within the seam, making them the go-to choice for formal wear, dresses, and any project where you want the zipper to disappear
Essential Tools and Supplies
Gathering the right tools before you start will make your zipper insertion process much smoother:
- Zipper foot: A specialized presser foot that allows you to stitch close to zipper teeth
- Invisible zipper foot: Specifically designed for invisible zipper tutorial applications
- Seam ripper: For correcting mistakes or removing basting stitches
- Fabric marking tools: Chalk or fabric pens for precise placement
- Pins or clips: To hold the zipper in place during sewing
- Iron and pressing surface: Critical for crisp, professional results
How to Sew a Centered Zipper
The centered zipper insertion is the most straightforward method and creates a symmetrical finish with teeth visible in the center.
Step 1: Prepare Your Seam
Start by sewing the seam where your zipper will be installed, leaving an opening exactly the length of your zipper teeth (not including the tape). Use a regular stitch length below the zipper opening and a long basting stitch where the zipper will sit. Press the entire seam open.
Step 2: Position the Zipper
Place your fabric face down and position the closed zipper face down over the pressed-open seam. The zipper teeth should align directly over the seam line. Pin or clip in place, ensuring the zipper pull is at the top of the opening.
Step 3: Baste the Zipper
Using a long basting stitch, sew the zipper tape to the seam allowances only—not through to the right side of the fabric. This temporary stitching keeps everything aligned during final stitching.
Step 4: Stitch from the Right Side
Flip your fabric to the right side. Using a zipper foot, topstitch around the entire zipper opening, creating a rectangle. Start at the bottom of one side, pivot at the corner, stitch across the bottom about 3/8 inch from the seam, pivot again, and continue up the other side. This creates the characteristic centered zipper appearance.
Step 5: Remove Basting and Finish
Carefully remove all basting stitches using a seam ripper. Press lightly if needed, being careful not to melt plastic teeth with high heat.
How to Sew a Lapped Zipper
Lapped zippers create a more tailored appearance with one side of fabric overlapping the zipper teeth completely.
Step 1: Prepare and Mark
Sew your seam with a basting stitch where the zipper will be placed. Press the seam open. On the left side (when wearing), mark a line 5/8 inch from the seam line—this will be your stitching guide.
Step 2: Attach the Right Side
Fold the right seam allowance under at the seam line. Position the folded edge close to the zipper teeth (about 1/8 inch away). Using a zipper foot, stitch close to the fold through all layers.
Step 3: Create the Lap
Fold the left seam allowance under, but this time bring it over to cover the zipper completely. The fold should extend about 3/8 inch beyond the center seam line, creating the lap. Pin in place.
Step 4: Topstitch the Lap
From the right side, stitch along your marked line, creating a neat topstitched line that secures the lapped side. Backstitch at both ends for security.
Step 5: Clean Up
Remove all basting stitches and press gently, avoiding direct heat on the zipper teeth.
Invisible Zipper Tutorial: The Hidden Finish
An invisible zipper creates the most seamless appearance, with no visible topstitching or teeth from the right side.
Step 1: Prepare with Precision
Unlike other methods, install an invisible zipper before sewing the seam. Press the zipper tape flat, rolling the coil away from the tape to expose the stitching groove. This is crucial for proper installation.
Step 2: Position the First Side
Open the zipper completely. Place it face down on the right side of one fabric piece, aligning the zipper coil with the seam line. The zipper tape extends into the seam allowance. Pin in place.
Step 3: Stitch the First Side
Using an invisible zipper foot, guide the coil into the groove of the foot. Stitch as close to the coil as possible, stopping about 2 inches from the bottom of the zipper.
Step 4: Attach the Second Side
Close the zipper to align the fabric pieces. Open it again and pin the second tape to the second fabric piece, right sides together. Stitch in the same manner.
Step 5: Close the Seam
Close the zipper. Switch to a regular zipper foot or standard presser foot. Starting just below where your invisible zipper stitching ends, complete the seam below the zipper. The transition should be smooth and seamless.
Step 6: Finish and Press
Press the seam open below the zipper. From the right side, you should see only a seam line—the zipper is completely hidden.
Common Zipper Installation Mistakes and Solutions
Puckering or Rippling
This usually occurs when the fabric is stretched during installation. Always pin or baste thoroughly and sew with the fabric relaxed, not pulled. For knit fabrics, consider using a stabilizer along the zipper opening.
Zipper Won’t Zip Smoothly
Check that your stitching isn’t too close to the teeth, which can catch in the zipper pull. Leave at least 1/8 inch clearance on centered and lapped zippers. For invisible zippers, make sure the coil was properly rolled out before stitching.
Uneven Topstitching
Use a marking tool to draw guidelines before stitching. Many sewers find that using the edge of their zipper foot as a guide helps maintain consistent spacing. Go slowly and pivot carefully at corners.
Bottom of Zipper Doesn’t Align
This indicates the zipper shifted during installation. Always start pinning or clipping from the top and work downward, ensuring both sides are even. Check alignment before stitching.
Tips for Professional Results
Practice makes perfect: Before installing a zipper in your final project, practice the technique on scrap fabric. This builds confidence and helps you understand your machine’s quirks.
Choose the right zipper length: The zipper should be about 1 inch longer than your opening for easier installation. You can shorten zippers by creating a new bottom stop with hand stitching if needed.
Press at every step: Pressing seams open, pressing the zipper tape, and pressing the final installation creates crisp, professional results that look store-bought.
Match your thread carefully: Thread that matches your fabric color will make any imperfections less noticeable while you’re learning.
Start with stable fabrics: Medium-weight cottons and linens are more forgiving than slippery satins or stretchy knits. Build your skills on easier materials first.
Choosing the Right Method for Your Project
The type of zipper insertion you choose should match your project’s style and construction:
Use centered zipper insertion for:
- Cushion covers and pillow backs
- Center back seams on casual dresses and skirts
- Tote bags and pouches
- Any project where symmetry is desired
Choose lapped zipper installation for:
- Pants and trousers (fly front)
- Tailored skirts
- Side seam closures
- Projects requiring a more refined finish than centered
Select an invisible zipper for:
- Formal dresses and evening wear
- Fitted garments where you want no visible hardware
- Side seam closures on dresses
- Any project where the closure should disappear into the fabric
Troubleshooting Specific Zipper Issues
Zipper Pull Comes Off Track
This often happens when the bottom stop is compromised or when fabric gets caught. If the pull has completely come off, carefully guide both sides of the tape back into the pull, working from the bottom up.
Fabric Caught in Zipper
Never force a zipper when fabric is caught. Gently pull the fabric taut on both sides while slowly moving the pull backward. If seriously jammed, you may need to use a seam ripper to carefully cut a few zipper teeth to release the fabric.
Wavy Seam Allowance After Installation
This indicates too much pressure or stretching during sewing. The fix is prevention: use plenty of pins, sew slowly, and never pull the fabric through the machine. If it happens, you may need to remove the zipper and start fresh with a stabilized seam.
Advanced Techniques and Variations
Once you’ve mastered the basic invisible zipper tutorial, centered, and lapped methods, consider these advanced applications:
Exposed zippers: Use decorative metal zippers as a design feature by installing them similarly to centered zippers but with wider topstitching and contrasting thread.
Zipper tabs: Create fabric tabs at the top of zippers for a custom designer touch on bags and garments.
Curved zipper installation: Some garments require zippers along curved seams. The principles remain the same, but careful pinning and stretching or easing the zipper tape to match the curve is essential.
Separating zippers: Jackets and cardigans use separating zippers that come completely apart. These require precise alignment at the bottom to ensure both sides meet correctly.
Caring for Zippered Garments
Proper care extends the life of your zipper installations:
- Always zip garments before washing to prevent stress on the tape and teeth
- Wash zippered items inside out to protect the zipper and surrounding fabric
- Avoid high heat when ironing near zippers—use a press cloth if needed
- If a zipper becomes sticky, rub a graphite pencil (not pen) along the teeth to lubricate
Building Your Zipper Skills
Learning how to sew a zipper in all three styles gives you flexibility and confidence in your sewing projects. Start with the centered zipper insertion on a simple cushion cover, then progress to lapped zippers on a basic skirt, and finally tackle an invisible zipper tutorial on a dress.
Each method has its place in garment construction and home decor sewing. With practice, zipper installation becomes second nature, transforming from a dreaded task into a satisfying skill that produces professional, polished results every time.
Remember that even experienced sewers occasionally need to remove and reinstall a zipper. Don’t be discouraged by mistakes—they’re valuable learning opportunities. Keep your seam ripper handy, take your time, and soon you’ll be installing zippers with confidence and precision.